Slide toggle

Welcome to ALLAT

Welcome to a world of inspiration, stitches, and warmth — I’m Allat, and I’m so glad you’re here.
Here you’ll find crochet and knitting patterns, step-by-step tutorials, clever tips & tricks, and lots of creative ideas to spark your imagination.

Stay a while, and dive into the cozy world of handmade magic.

Author: ALLAT

A sample of a brown textured crochet motif pinned tightly to a wooden blocking board. The pins ensure the square shape is set and the stitch definition is locked.

How to Block Knits and Crochet for Perfect Results (The Ultimate Guide)

This guide will show you how to block knits and crochet projects effectively.

Blocking is the essential process that transforms any handmade item—be it a smooth knitted sweater or a textured crochet motif—into a polished, professional-looking piece. This process, often referred to as Wet Blocking (WET) or steam setting, is the final, non-negotiable step to perfecting your craft.


Why You Must Block Your Handmade Project: Key Benefits


  • Perfect Stitch Definition (Gauge Setting): Blocking relaxes the yarn fibers, helping to uniform the tension across the entire fabric, smoothing out minor inconsistencies and giving both knit and crochet stitches a clean, defined look.
  • Achieve Exact Finished Measurements: Garments and blankets must be blocked to match the pattern’s schematic dimensions. This is especially critical for joining square crochet motifs (like Granny Squares) accurately.
  • The Yarn “Bloom” Effect: Natural fibers relax and bloom during this process, allowing the full beauty and softness of the yarn (like merino or alpaca) to emerge.
  • Fixing Edge Curl/Shape Distortion: It effectively eliminates the common Stockinette stitch curl and corrects the slight distortion often found in large crocheted pieces.
  • Lace and Cable Pop: For intricate designs (both knit lace and crochet lace), aggressive blocking opens up patterns and smooths out textures, giving them dimension.

Choosing Your Method: How to Block Knits and Crochet -Wet Blocking vs. Steam Blocking  Always test on a swatch!


1. Wet Blocking (WET): The Best for Natural Fibers 

  • Best For: Wool, Merino, Alpaca, Cotton, Linen, Silk (any fiber that handles water well).
  • Process:
    1. Soak: Submerge your finished item in lukewarm water with a gentle wool wash for 20–30 minutes. Gently squeeze, do not wring or agitate!
    2. Towel Press: Roll the damp item in a clean, dry towel and press down firmly to absorb excess moisture.
    3. Pinning: Proceed immediately to the “Pinning” phase.

2. Steam Blocking: Fast and Effective 

  • Best For: Acrylic, superwash wools, or pieces you need to join quickly. Often used for crochet as it provides strong, quick setting.
  • Process:
    1. Pin Dry Item: Pin the project to your blocking mats while it is dry or slightly damp.
    2. Steam Set: Use a steamer or iron on the steam setting. Hold the steam source 1–3 inches away. Do not touch the iron directly to the fabric!
    3. Cool Down: Let it cool down and dry completely while pinned.

3. Spray Blocking (Light Blocking)

  • Best For: Very delicate items or pieces that are prone to growing/stretching too much (e.g., lightweight cotton, delicate lace).
  • Process: Pin the dry item to size, then lightly mist with water until damp. Allow to dry.

Mastering the Pinning Phase: Tools and Technique 


Critical for Small Details and Repeated Motifs! The right tools are essential to mastering how to block knits and crochet perfectly. This phase sets the final dimensions of your item.

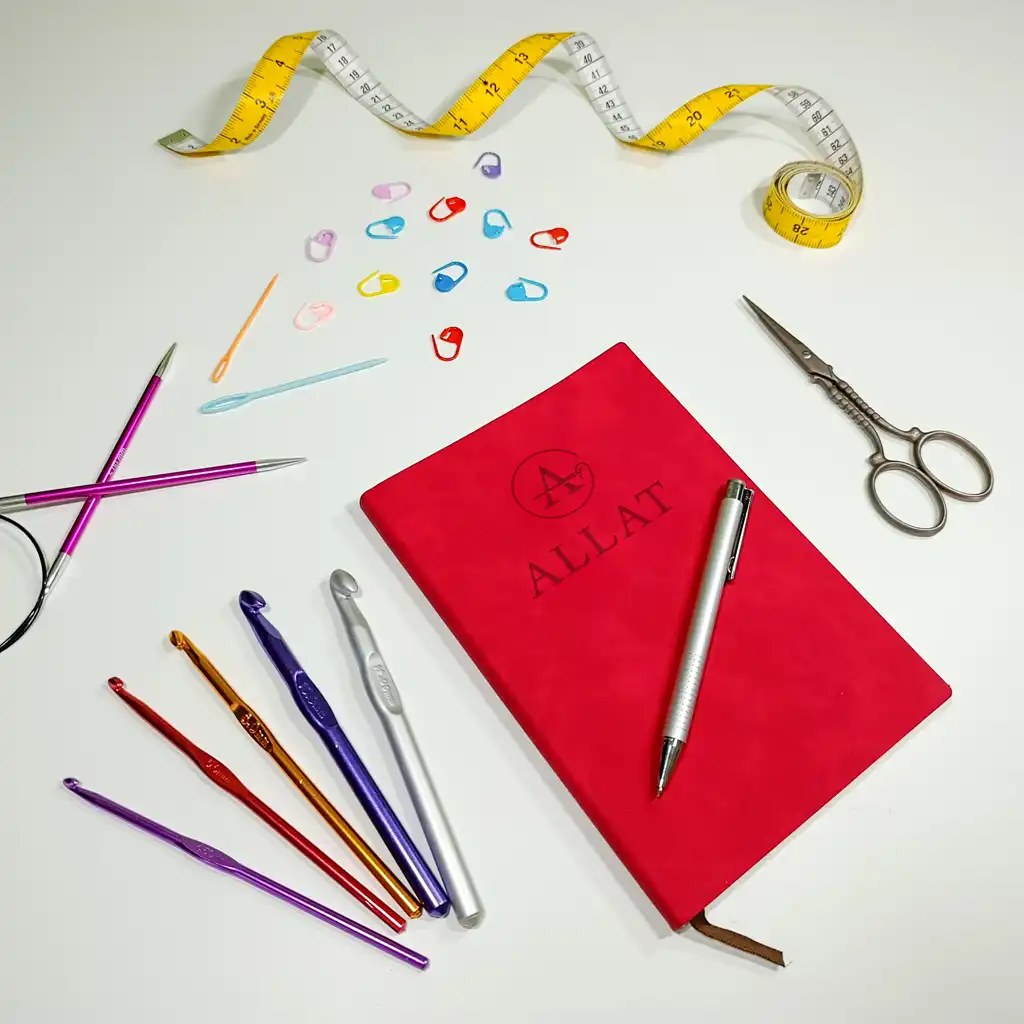
Your Essential Blocking Toolkit:

  • Foam Blocking Mats: Interlocking mats that provide a uniform, pinnable surface for large items (sweaters, blankets).
  • T-Pins (Rustproof): Stainless steel pins are critical for anchoring and preventing rust stains.
  • Blocking Wires: Threaded through the edges to ensure perfectly straight edges (great for scarves, long pieces).
  • Measuring Tape: Essential for matching your dimensions to the pattern schematic.

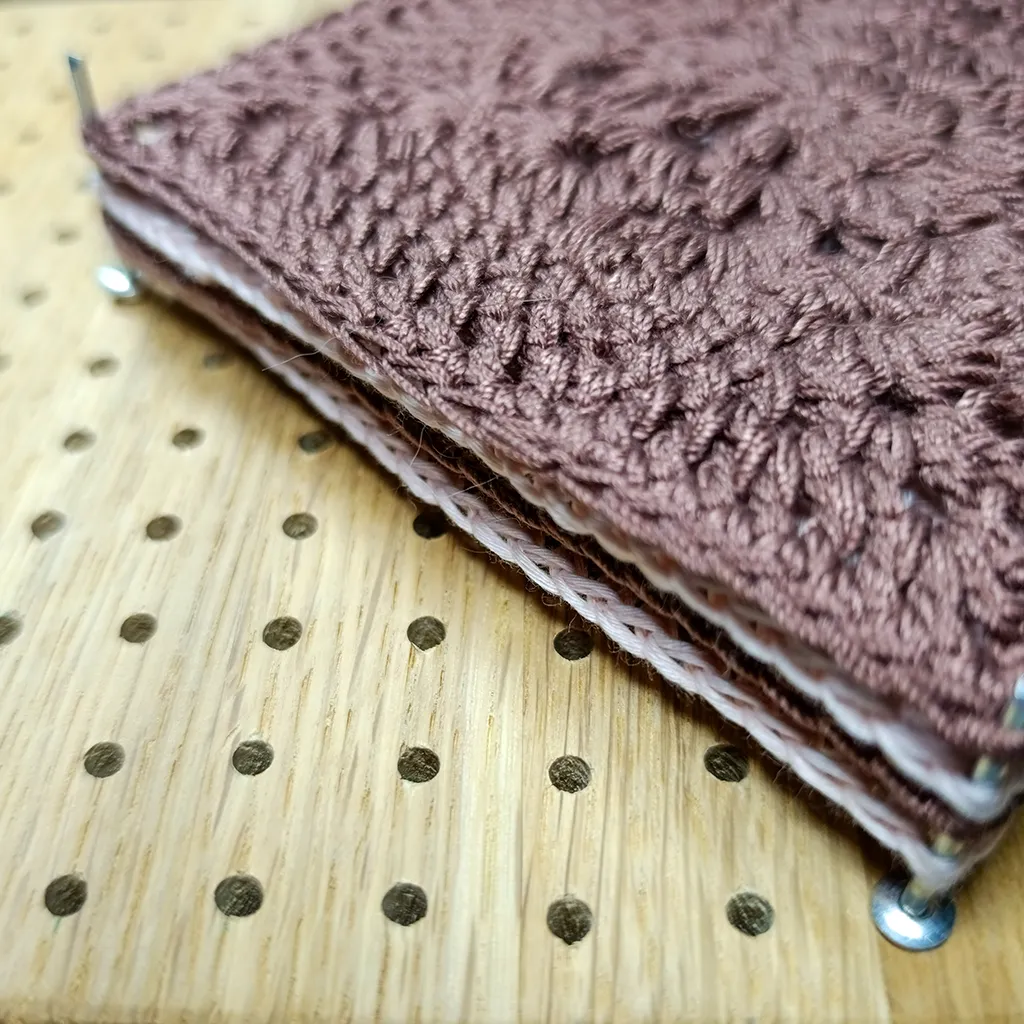
Blocking Crochet Motifs with a Peg Board

For small, repeatable elements (such as Granny Squares, hexagonal motifs, or small sweater pieces), a Peg Blocking Board is indispensable:

  • What It Is: Typically, it is a smooth wooden board featuring a uniformly spaced grid of holes.
  • Advantages:
    • Speed: You can block multiple motifs at once by stacking them onto the board.
    • Perfect Shape: Instead of pins, metal rods (pegs) are inserted into the holes. This guarantees ideal geometry for every square without constant measuring.
    • Time Savings: Motifs dry to an absolutely identical size—which vastly simplifies the subsequent seaming process.

The Pinning/Setting Process:

  1. Lay the item flat on the blocking mats (for garments) or use the specialized blocking board (for motifs).
  2. Gently ease the fabric into the desired shape. Use your measuring tape to confirm length and width.
  3. For Motifs: Pin the four corners of your crochet motif first. If using a peg blocking board, place the motif over the pegs at the desired corners/points.
  4. For Lace: Use T-pins to aggressively stretch the points of the lace to fully open the design.
  5. Allow the item to air dry completely. The shape is now set!

Essential Blocking Tip 

Always Block Your Swatch! Block it exactly as you plan to block your finished item. This guarantees your final measurements will be accurate, especially when using a new fiber.


Don’t skip the blocking! Mastering how to block knits and crochet is your secret weapon for creating truly professional, heirloom-quality handmade projects.

Crochet and knitting essentials on a white desk: colorful hooks, circular needles, stitch markers, tape measure, scissors, and a red ALLAT project notebook with pen.

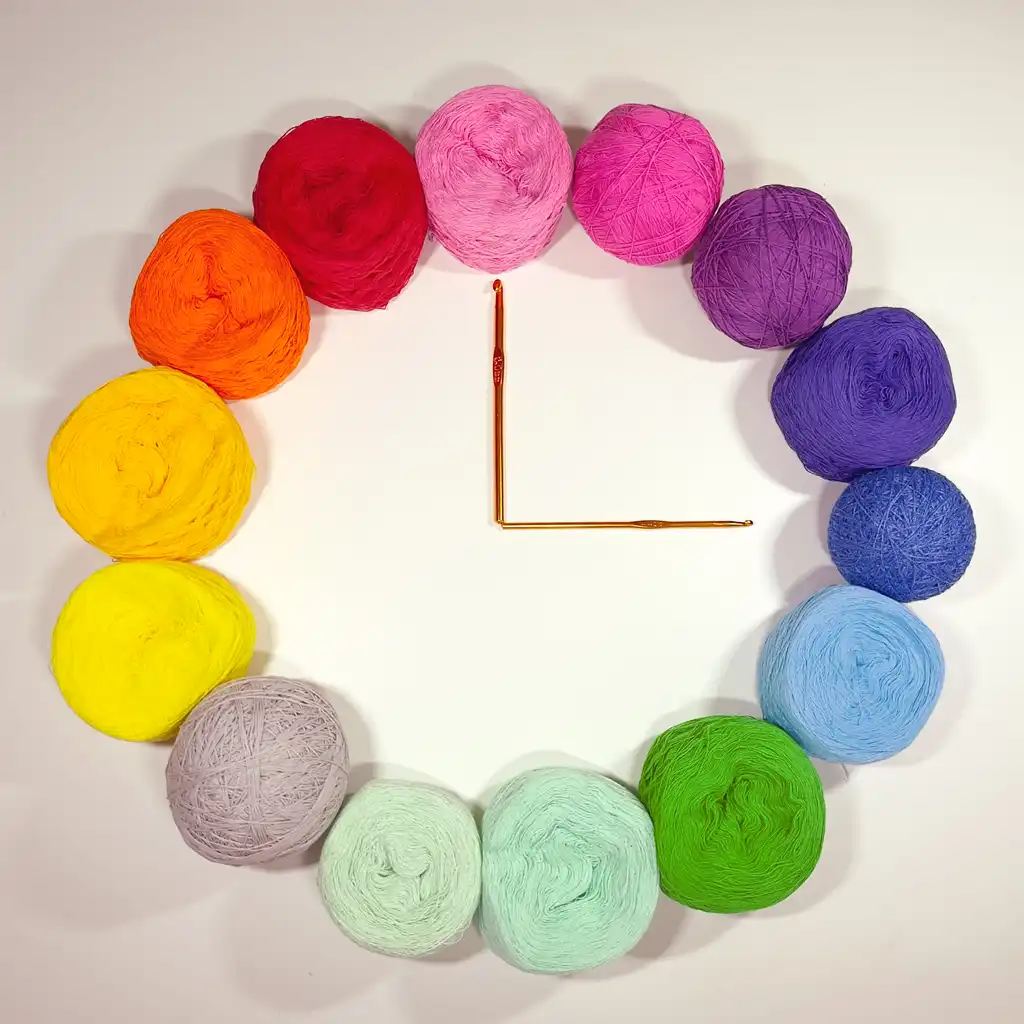
How to Choose the Right Yarn for Your Knitting or Crochet Project

Choosing the right yarn for knitting or crochet is not just about picking your favorite color — it’s about how your finished project will feel, look, and last over time. The perfect yarn will match your project type, provide the right drape, and be comfortable to work with.

Below are the most important factors to consider when selecting yarn for your next handmade creation.

  1. Understand Yarn Weight (Thickness)

Yarn weight — lace, fingering, sport, DK, worsted, bulky, super bulky — directly affects the size, drape, and texture of your finished piece.

  • Follow the pattern’s recommendation whenever possible.
  • If substituting yarn, match the gauge closely to achieve the intended fit and shape.
  • Remember: yarn weight doesn’t always equal yarn thickness visually — making a swatch is the best way to check.
  1. Check the Fiber Content

Different fibers behave differently:

  • Wool – warm, stretchy, holds shape well, great for winter garments.
  • Cotton – breathable, crisp, perfect for summer wear and home décor.
  • Acrylic – budget-friendly, washable, ideal for beginners, but may pill over time.
  • Alpaca – soft, drapey, slightly fuzzy (less definition for detailed stitches).
  • Blends – combine the benefits of different fibers.

Think about purpose: Is it a cozy scarf, a summer top, or a baby blanket? Fiber choice will affect comfort, durability, and care.

  1. Consider Yarn Texture

Texture impacts both the look and the ease of working with yarn:

  • Smooth yarns – best for cables, lace, and stitch definition.
  • Fluffy, halo, or boucle yarns – add coziness but can hide stitch detail.
  • Slub or novelty yarns – create unique effects but may be challenging for beginners.

Choose texture based on whether you want to show off your stitchwork or let the yarn’s personality shine.

  1. Pick the Right Color

Color affects stitch visibility and the final aesthetic:

  • Light colors make stitches stand out.
  • Dark colors can be harder to see, especially at night.
  • Variegated yarns look exciting but may obscure complex patterns.
  • Solid or tonal yarns are perfect for intricate designs.

If using multi-colored yarn, make a swatch to check for color pooling.

  1. Calculate Yardage Correctly

Skein size varies between brands, so always calculate yarn needs by yardage/meters, not just the number of skeins.

  • Check the yarn label and compare it with the pattern requirements.

Buy a little extra to avoid running out mid-project — especially for hand-dyed yarns.

  1. Match Yarn to Project Type

Not all yarn works for all projects. Here’s a quick guide:

Project Type Suggested Yarn Types
Baby clothes Soft cotton, bamboo, washable blends
Winter garments Wool, wool blends, alpaca
Summer tops Cotton, linen, lightweight blends
Accessories Mohair, silk, boucle
Amigurumi 100% cotton or acrylic (firm shape)


The best yarn for knitting or crochet is the one that matches your project’s needs and makes you excited to start creating. Trust your swatch, your hands, and your creativity. Don’t be afraid to experiment — every skein is an opportunity to learn.

Happy stitching and crocheting!

Flat lay of crochet and knitting tools with an ALLAT notebook: hooks, circular needles, stitch markers, measuring tape, yarn needles and scissors.

5 Must-Have Tools for Every Knitter or Crocheter

Whether you’re a beginner or a seasoned maker, having the right tools makes the process more enjoyable and smooth. Here are five essentials I always keep nearby:


  1. Sharp scissors – for clean and precise cuts.
  2. Stitch markers – to keep track of repeats, joins, or rows.
  3. Tapestry needle – for weaving in ends easily.
  4. Measuring tape – because size does matter!
  5. Notebook or app – to track your progress, yarn details, or pattern notes.


Bonus tip: Keep everything in a small pouch or box so it’s always ready to go!


Hand crocheting a brown lace pattern with a yellow hook using fine cotton yarn; mesh stitch fabric in progress.

10 Things Only a Knitter (or Crocheter!) Will Understand

  1. “One more skein doesn’t count.” It’s for future plans, obviously.
  2. You have one WIP… and six more in your head. Plus one in your bag, two in a basket, and maybe one under the couch.
  3. You see a sweater in a store and think: “I could totally make that.”
  4. Normal scissors? No. Yarn scissors? Sacred. Touch them and risk your life.
  5. Your phone is full of yarn, stitches, and project pics. Selfies? What are those?
  6. Gauge swatch? Yeah… like doing warm-up stretches — you know you should, but…
  7. “Just one more row before bed.” Suddenly it’s 2:43 AM, but hey — the sleeve is almost done!
  8. Every fiber artist has a favorite yarn… and one they’ll never use again.
  9. Sometimes, stitch patterns come to you in dreams. Your brain never stops crafting.
  10. No one understands true pride like someone who’s just finished a handmade project.


Bonus points if someone says: “Wait — you made that?!”


Knitting and crochet aren’t just hobbies.

They’re a way of life — full of loops, love