This guide will show you how to block knits and crochet projects effectively.
Blocking is the essential process that transforms any handmade item—be it a smooth knitted sweater or a textured crochet motif—into a polished, professional-looking piece. This process, often referred to as Wet Blocking (WET) or steam setting, is the final, non-negotiable step to perfecting your craft.
Why You Must Block Your Handmade Project: Key Benefits
- Perfect Stitch Definition (Gauge Setting): Blocking relaxes the yarn fibers, helping to uniform the tension across the entire fabric, smoothing out minor inconsistencies and giving both knit and crochet stitches a clean, defined look.
- Achieve Exact Finished Measurements: Garments and blankets must be blocked to match the pattern’s schematic dimensions. This is especially critical for joining square crochet motifs (like Granny Squares) accurately.
- The Yarn “Bloom” Effect: Natural fibers relax and bloom during this process, allowing the full beauty and softness of the yarn (like merino or alpaca) to emerge.
- Fixing Edge Curl/Shape Distortion: It effectively eliminates the common Stockinette stitch curl and corrects the slight distortion often found in large crocheted pieces.
- Lace and Cable Pop: For intricate designs (both knit lace and crochet lace), aggressive blocking opens up patterns and smooths out textures, giving them dimension.
Choosing Your Method: How to Block Knits and Crochet -Wet Blocking vs. Steam Blocking Always test on a swatch!
1. Wet Blocking (WET): The Best for Natural Fibers
- Best For: Wool, Merino, Alpaca, Cotton, Linen, Silk (any fiber that handles water well).
- Process:
- Soak: Submerge your finished item in lukewarm water with a gentle wool wash for 20–30 minutes. Gently squeeze, do not wring or agitate!
- Towel Press: Roll the damp item in a clean, dry towel and press down firmly to absorb excess moisture.
- Pinning: Proceed immediately to the “Pinning” phase.
2. Steam Blocking: Fast and Effective
- Best For: Acrylic, superwash wools, or pieces you need to join quickly. Often used for crochet as it provides strong, quick setting.
- Process:
- Pin Dry Item: Pin the project to your blocking mats while it is dry or slightly damp.
- Steam Set: Use a steamer or iron on the steam setting. Hold the steam source 1–3 inches away. Do not touch the iron directly to the fabric!
- Cool Down: Let it cool down and dry completely while pinned.
3. Spray Blocking (Light Blocking)
- Best For: Very delicate items or pieces that are prone to growing/stretching too much (e.g., lightweight cotton, delicate lace).
- Process: Pin the dry item to size, then lightly mist with water until damp. Allow to dry.
Mastering the Pinning Phase: Tools and Technique
Critical for Small Details and Repeated Motifs! The right tools are essential to mastering how to block knits and crochet perfectly. This phase sets the final dimensions of your item.
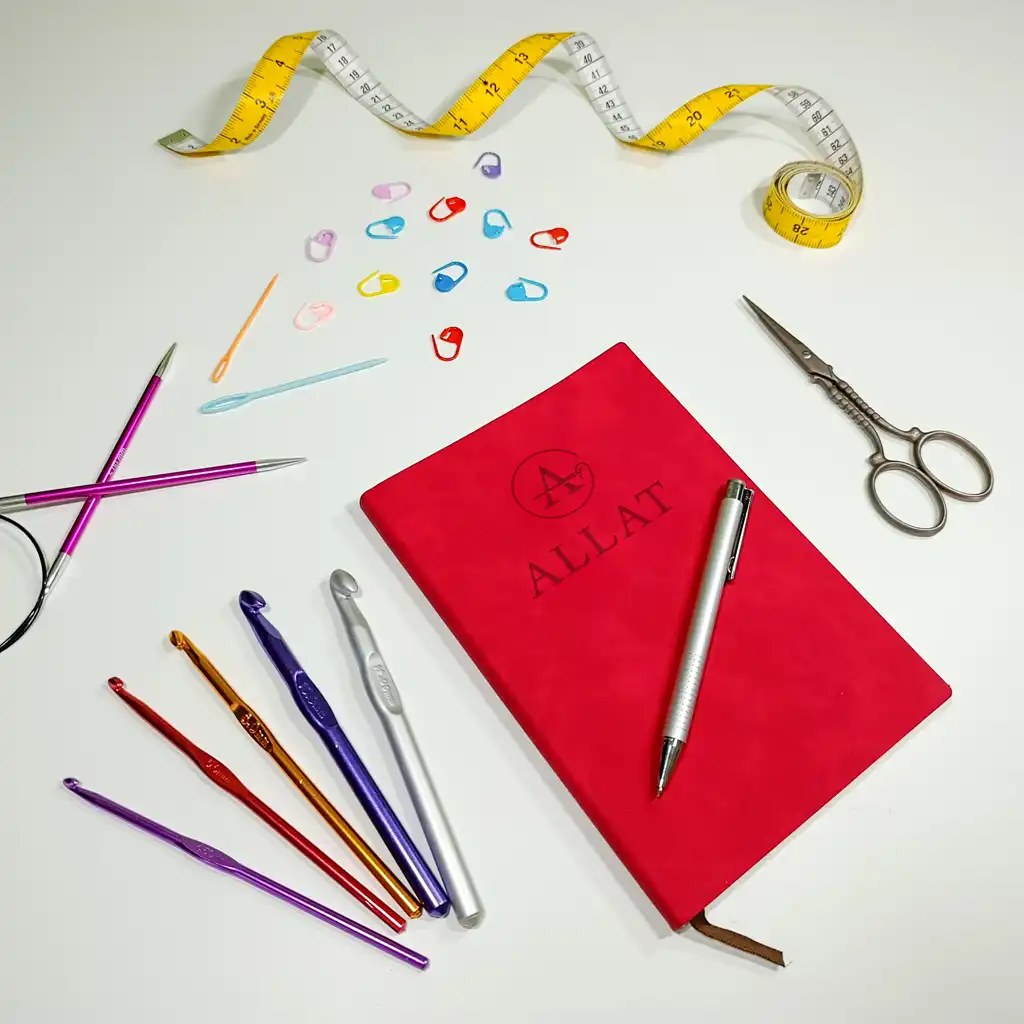
Your Essential Blocking Toolkit:
- Foam Blocking Mats: Interlocking mats that provide a uniform, pinnable surface for large items (sweaters, blankets).
- T-Pins (Rustproof): Stainless steel pins are critical for anchoring and preventing rust stains.
- Blocking Wires: Threaded through the edges to ensure perfectly straight edges (great for scarves, long pieces).
- Measuring Tape: Essential for matching your dimensions to the pattern schematic.
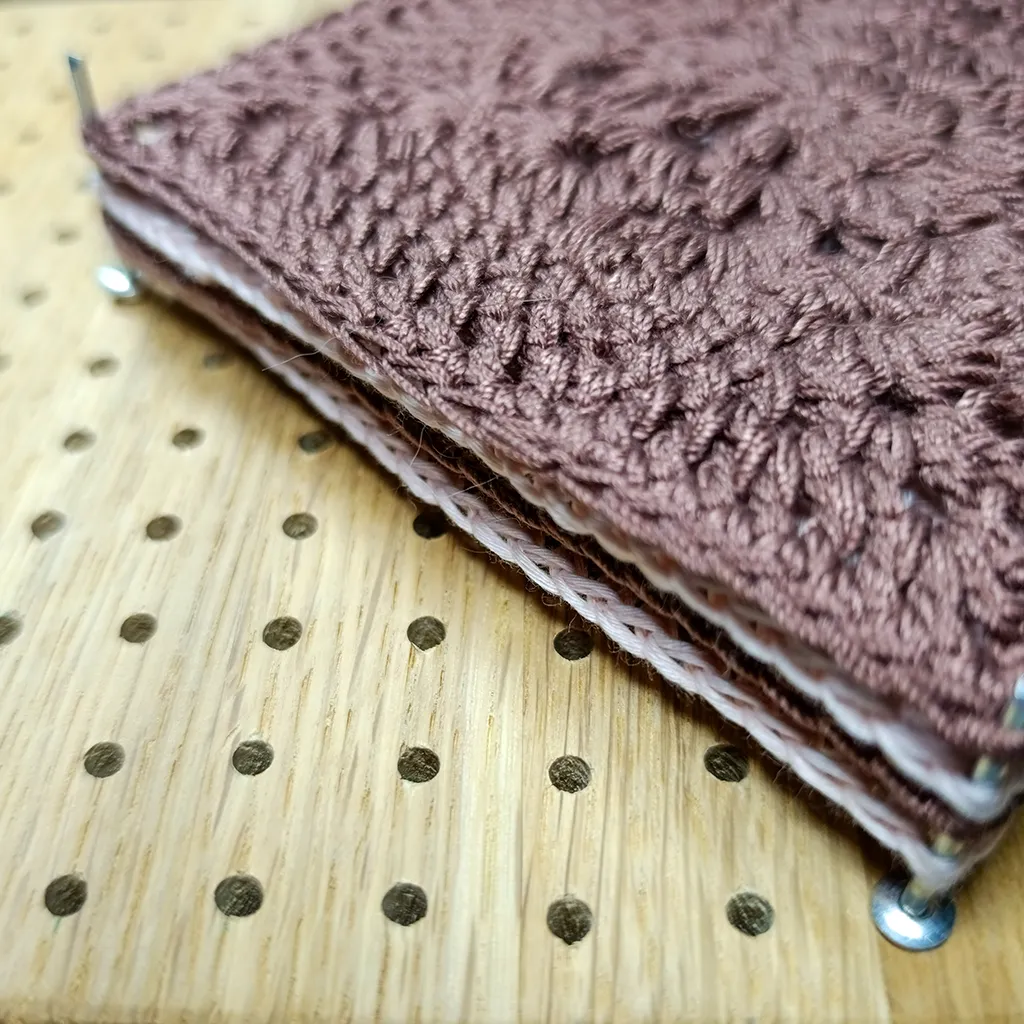
Blocking Crochet Motifs with a Peg Board
For small, repeatable elements (such as Granny Squares, hexagonal motifs, or small sweater pieces), a Peg Blocking Board is indispensable:
- What It Is: Typically, it is a smooth wooden board featuring a uniformly spaced grid of holes.
- Advantages:
- Speed: You can block multiple motifs at once by stacking them onto the board.
- Perfect Shape: Instead of pins, metal rods (pegs) are inserted into the holes. This guarantees ideal geometry for every square without constant measuring.
- Time Savings: Motifs dry to an absolutely identical size—which vastly simplifies the subsequent seaming process.
The Pinning/Setting Process:
- Lay the item flat on the blocking mats (for garments) or use the specialized blocking board (for motifs).
- Gently ease the fabric into the desired shape. Use your measuring tape to confirm length and width.
- For Motifs: Pin the four corners of your crochet motif first. If using a peg blocking board, place the motif over the pegs at the desired corners/points.
- For Lace: Use T-pins to aggressively stretch the points of the lace to fully open the design.
- Allow the item to air dry completely. The shape is now set!
Essential Blocking Tip
Always Block Your Swatch! Block it exactly as you plan to block your finished item. This guarantees your final measurements will be accurate, especially when using a new fiber.
Don’t skip the blocking! Mastering how to block knits and crochet is your secret weapon for creating truly professional, heirloom-quality handmade projects.


 How to Block Knits and Crochet for Perfect Results (The Ultimate Guide)
  10 Things Only a Knitter (or Crocheter!) Will Understand
  How to Choose the Right Yarn for Your Knitting or Crochet Project
  5 Must-Have Tools for Every Knitter or Crocheter
Recent Comments